.svg)
.svg)
What Are DIY Garage Kits and How Do They Work?
.svg)
.svg)

Building your own garage is easier than you might think. With a DIY garage kit, you get everything you need to create a strong, high-quality structure without hiring a full construction crew. These kits are designed to make the process simple and rewarding, combining professional engineering with homeowner-friendly instructions.
Each package includes pre-engineered, precision-cut materials — from framing and roof trusses to hardware and trim — all clearly labeled and ready to assemble. That organization takes the stress out of construction, helping you save time, avoid waste, and stay within budget.
Step-by-step plans guide you through every phase, from preparing the foundation to adding the finishing touches. Even if you’ve never built a structure before, the process is easy to follow with standard tools and a little help from a friend.
DIY garage kits also give you freedom to customize. Whether you want a one-car space, a workshop, or additional storage, you can choose the size, style, and layout that fit your property and your needs. The end result is a sturdy, professional-looking garage you can take pride in — built efficiently, affordably, and entirely by you.
The Core Concept Behind DIY Garage Kits
DIY garage kits bundle together everything you need to build with precision and confidence. Each package includes pre-cut framing lumber, engineered roof trusses, hardware, and detailed construction plans that remove the guesswork from traditional building. Every piece is cut to exact dimensions, clearly labeled, and organized for quick identification once you begin assembly. This eliminates unnecessary waste, prevents miscuts, and ensures the entire structure fits together exactly as designed.
The engineered plans are created with the homeowner in mind. They feature straightforward diagrams, numbered steps, and material checklists that make the process easier to follow than a typical contractor’s blueprint. Even if you have limited carpentry experience, the instructions are designed to keep you on track from start to finish.
Each stage of the project builds on the last. You start by assembling the wall panels, then move to the trusses, siding, and roofing. The parts are cut and packaged in a way that allows you to progress efficiently without stopping to remeasure or redesign. The end result is a professional-grade garage, completed at your own pace, with the confidence that everything was engineered to fit perfectly from day one.
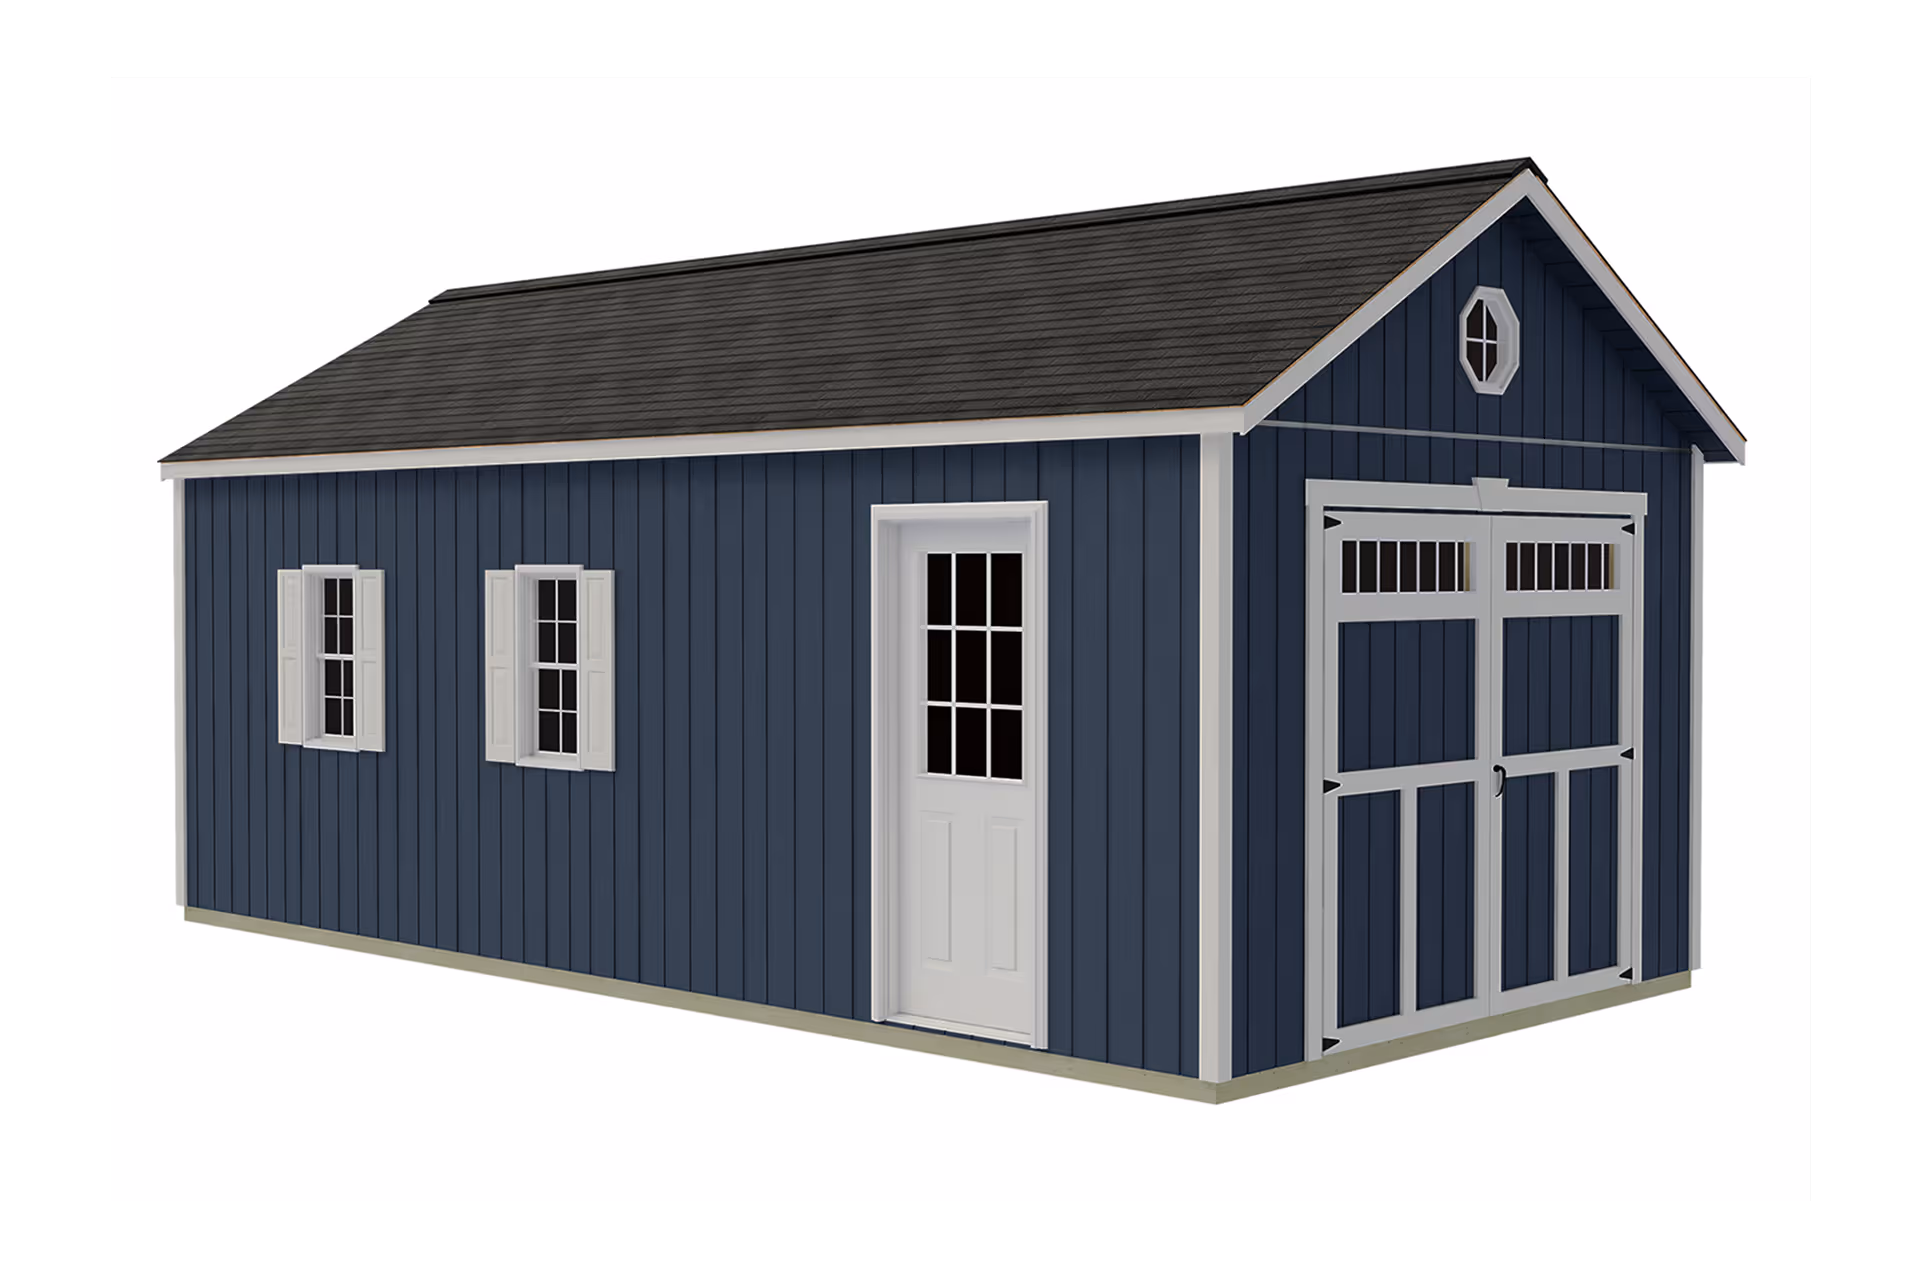
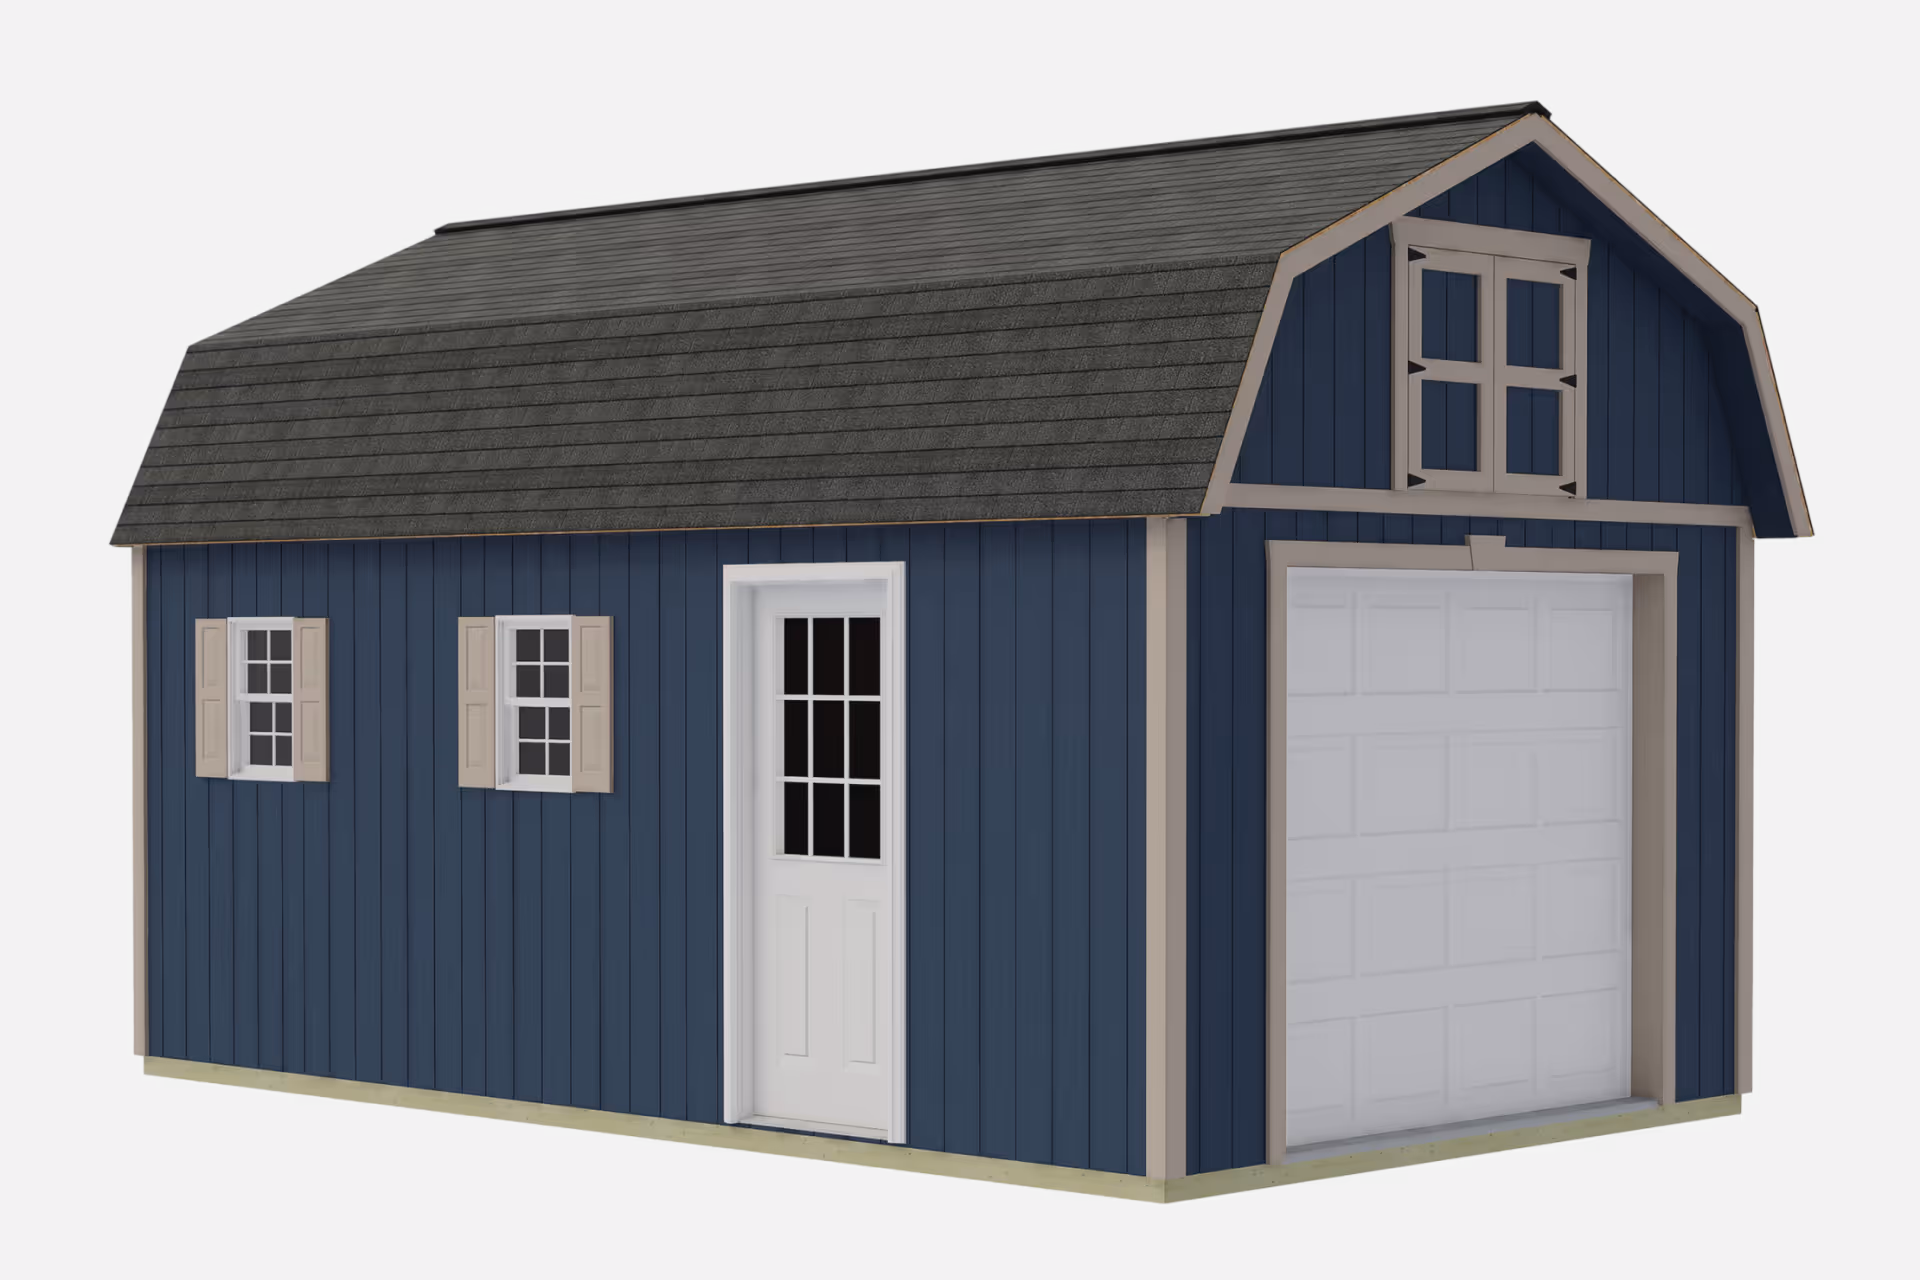
What Is Included in a Typical Kit
.avif)
Most DIY garage kits are built around the same fundamental promise — giving you every major component needed to construct a durable, code-compliant structure without professional intervention. Each kit typically arrives with pre-cut framing lumber for walls and roof trusses, along with fasteners, brackets, and all the hardware necessary for proper structural support.
What really distinguishes one kit from another is the material package. Best Barns, for example, standardizes on LP® SmartSide® engineered wood for its siding and trim. This material offers the natural appearance of real wood with the added benefit of engineered strength, impact resistance, and advanced protection against rot, decay, and termites. It’s treated with proprietary SmartGuard® technology, which makes it exceptionally durable for a range of climates and requires minimal maintenance compared to traditional lumber.
Other manufacturers may include different materials depending on the intended use or design preference. Vinyl siding is common for homeowners seeking a low-maintenance, weather-resistant option, while metal siding can deliver superior longevity and protection in high-moisture or high-wind regions. Some premium kits even offer hybrid solutions — combining wood framing with metal roofing or insulated wall panels for enhanced performance.
Most reputable suppliers also include permit-ready drawings and engineered load calculations, simplifying the approval process with local building departments. These documents outline structural specifications, wind and snow load ratings, and anchoring details, ensuring your garage meets local code requirements.
Before purchasing, it’s worth comparing each kit’s specifications side by side. Pay attention to framing thickness, siding type, roof pitch, and included hardware. The right combination of materials and design not only determines how long your garage will last but also how much time and maintenance you’ll need in the years ahead.
Step-by-Step: How the Build Process Works

The process of assembling a DIY garage kit follows a logical, step-by-step rhythm that keeps the project organized from start to finish.
1. Permits and Planning: Start by reviewing your local building codes and zoning requirements. Most municipalities require a permit for new structures, and DIY garage kits make this easier with permit-ready drawings and load specifications. Take time to verify setbacks, height limits, and any HOA restrictions before breaking ground.
2. Site Preparation: Once approved, prepare the build site. Clear any vegetation, level the ground, and compact the soil to create a stable base. Then, install your chosen foundation—typically a concrete slab for maximum durability or a gravel pad with treated skids for simpler installation and improved drainage. Proper site prep ensures the garage remains square, stable, and resistant to moisture over time.
3. Framing: With the foundation in place, begin assembling wall panels and roof trusses using the pre-cut, labeled components from the kit. Each section fits together according to the engineered drawings provided, minimizing guesswork and ensuring structural accuracy. Fasten walls, secure trusses, and brace everything as outlined in the plans.
4. Sheathing and Weatherproofing: Next, attach roof sheathing and exterior wall sheathing. Install a moisture barrier or housewrap if included in your kit, followed by flashing around joints, openings, and edges to prevent water infiltration. This stage locks in the structural integrity and sets up your garage for long-term protection.
5. Siding and Roofing: Apply the exterior siding, trim, and roofing materials as directed in the plans. Whether your kit uses LP® SmartSide®, vinyl, or metal, this step gives the garage its finished look while sealing it from the elements. Secure roof panels or shingles carefully, following the recommended nailing or fastening pattern.
6. Doors, Windows, and Finishes: Finally, hang doors and windows, then complete any optional features such as insulation, interior paneling, shelving, or lighting. A little attention to these details goes a long way in improving comfort, usability, and resale value.
Foundation Options

A solid foundation is the backbone of any successful garage build. It determines how well the structure holds up over time, resists shifting, and handles the weight of vehicles or equipment. When choosing your foundation, consider soil conditions, drainage, and the long-term use of the space.
Concrete Slab: For most homeowners, a poured concrete slab offers the highest level of stability, rigidity, and durability. It provides a perfectly level surface for assembly and a finished floor that’s ready for vehicles, tools, or workshop use. A slab foundation also protects against ground moisture, pests, and frost movement. While this option requires more prep work—such as form building, reinforcement with rebar, and curing—it’s the most permanent and low-maintenance solution.
Gravel Pad with Treated Skids: For smaller or portable builds, a compacted gravel pad with pressure-treated skids can be an effective alternative. This method improves drainage, helps prevent water pooling around the structure, and simplifies site preparation. The gravel base distributes weight evenly while allowing ventilation beneath the floor system. It’s also more forgiving if you ever need to relocate or adjust the structure later.
No matter which foundation type you choose, take time to ensure your site is properly leveled and accessible for deliveries and assembly. Double-check that all corners are square, the grade slopes slightly away from the structure for drainage, and the area is clear of debris. Investing effort here sets the stage for a smooth, accurate build and a long-lasting garage.
Timeline, Tools, and Help
A DIY garage kit project takes time, coordination, and patience. While the parts are engineered for efficiency, real-world conditions like weather, experience level, and available help all influence how long it takes to complete.
For a homeowner working on weekends, expect the project to span two to four weekends from start to finish. That timeline includes site prep, framing, siding, roofing, and finishing touches. Weather delays or complex features like insulation and electrical work can extend the build slightly, but the process stays predictable with steady effort.
If you prefer professional installation, most crews can erect a standard two-car garage in one to three days once the foundation is ready. They typically arrive with power tools, scaffolding, and a small team to handle lifting and alignment efficiently.
For DIY builders, you only need basic tools: a cordless drill or impact driver, circular saw, tape measure, framing square, level, ladder, safety glasses, gloves, and a sturdy pair of sawhorses. A framing nailer can help but is not required.
It’s also smart to recruit at least one helper for lifting wall sections, setting trusses, and installing roof panels. Even with well-labeled parts, having an extra set of hands dramatically improves safety and precision.
By pacing the work and following the kit’s sequence carefully, you can complete a professional-grade structure without rushing or cutting corners—one weekend at a time.
Why Homeowners Choose DIY Garage Kits
One of the biggest reasons homeowners choose DIY garage kits is affordability. By handling the assembly yourself, you remove the largest expense in construction — labor. Professional installation can easily double the total cost of a project. With a DIY kit, that money stays in your pocket, allowing you to invest in upgrades like insulation, windows, or a more durable roofing material.
Another key advantage is customization. Garage kits come in a wide range of sizes, layouts, and architectural styles to fit different properties and purposes. Whether you’re planning a compact one-car space, a large multi-bay workshop, or something in between, you can tailor the design to your exact needs. You can even add personalized details like extra doors, dormers, or interior storage systems to make the space truly your own.
Then there’s quality control. Each kit is engineered in a controlled environment, with precision-cut components that meet strict standards for strength and consistency. You’re not relying on variable on-site labor or inconsistent materials — everything is measured, tested, and designed to fit perfectly together.Finally, there’s the personal satisfaction factor. Building your own garage gives you more than just a place to store vehicles or tools; it gives you a sense of accomplishment. It’s a project that adds real value to your home and a sense of pride every time you walk inside, knowing you built it yourself.
Next Steps
One of the strongest advantages of a DIY garage kit is affordability. By managing the assembly yourself, you eliminate the largest single cost in any construction project—labor. Contractors typically account for 40–60 percent of total build expenses, but with a kit, that margin and extra cost stays in your pocket. The materials are pre-cut and ready to assemble, so you don’t waste money on excess lumber, custom millwork, or on-site fabrication.
Beyond cost savings, DIY garage kits excel in customization. Homeowners can choose from a variety of layouts, roof styles, and configurations to fit their exact needs. Whether you want a compact one-car design or a spacious two-car workshop, these kits adapt to your lot, purpose, and budget. You can also add upgrades such as windows, insulation, dormers, and shelving for a more personalized space.
There’s also an element of quality control that’s often overlooked. Because all components are pre-engineered and manufactured in a controlled environment, they meet strict specifications before ever arriving on your property. This consistency ensures structural integrity and long-term durability that often exceeds site-built alternatives.
Finally, there’s the personal satisfaction that comes with doing it yourself. Building your own garage is not just a cost-saving measure—it’s an accomplishment. It’s a lasting reminder that you were able to plan, build, and complete a structure that adds real value to your property. Many owners describe it as one of the most rewarding home improvement projects they’ve ever undertaken.
DIY garage kits provide one of the most practical and empowering ways to build a durable, high-quality garage without the expense or complexity of traditional construction. Each kit comes with permit-ready plans, pre-cut materials, and a step-by-step build sequence that removes uncertainty and simplifies the entire process from delivery to completion.
By taking control of the project, you’re not just saving on labor — you’re also gaining full transparency over cost, materials, and craftsmanship. Every component is designed to fit precisely, ensuring your finished structure stands straight, stays weather-tight, and meets modern building standards.
The end result is more than just a garage. It’s a space tailored to your needs — whether for parking vehicles, storing equipment, or creating a dedicated workshop. You’ll gain a functional, lasting addition to your property while enjoying the pride of knowing you built it yourself. With a DIY garage kit, control, customization, and confidence all come standard.

.svg)


.avif)